
- Home
- Blog
- Hair Extension Knowledge
- How To Install K Tip Hair Extensions?
How To Install K Tip Hair Extensions?

K tip hair extensions, also known as keratin bond or fusion extensions. It is one of the most natural looking methods available today. Unlike tape in hair extension or clip in hair extensions, K tips hair extension are applied strand by strand, allowing seamless blending and long lasting results.
If installed correctly, they can last up to 3–6 months and move just like natural hair. But the key word here is correctly. Installation technique makes all the difference.In this guide, we're sharing the professional blueprint for a perfect K tips installation, from pre-service prep to long-term maintenance.
What Are K Tip Hair Extensions?
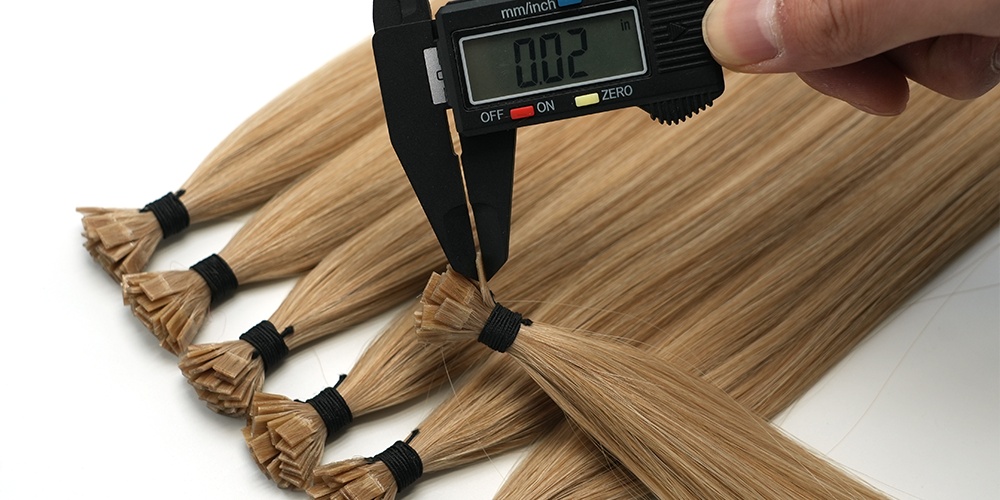
Keratin tip hair extensions are pre-bonded strands of human hair with a small keratin tip at the top. This keratin is heated and fused to your natural hair, creating a secure and discreet bond.The result:
- Natural movement
- Invisible attachment points
- Flexible styling options
<Related Article:How Much do Hair Extensions Cost? >
Hair Extension Tools You'll Need
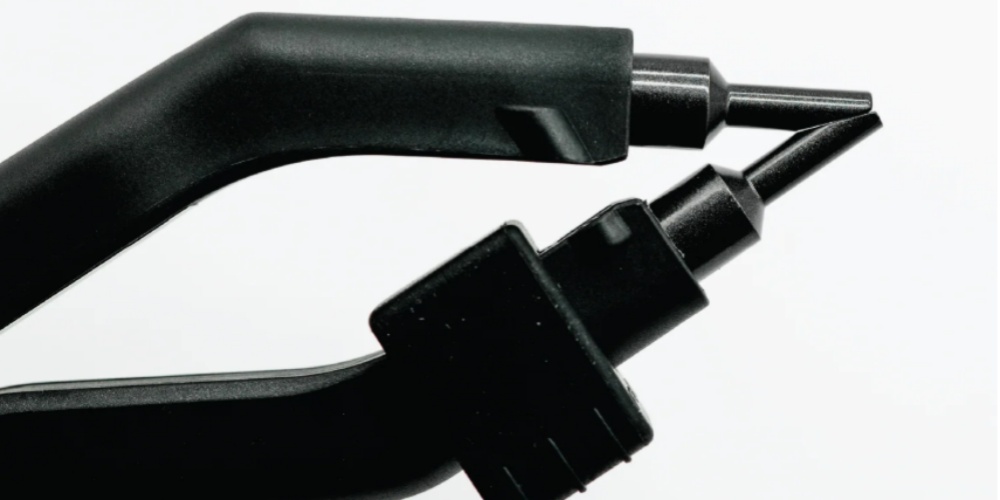
Before starting, make sure you have the right tools ready:- Fusion heat connector (keratin melting tool)
- Sectioning clips
- Tail comb
- Heat-resistant finger protectors
- Hair extension pliers (optional)
- Remover solution (for later removal)
Step-by-Step: How to Install K Tip Hair Extensions
Step 1: Prep the Hair
Start with freshly washed, completely dry hair. Use a clarifying shampoo to remove any oil, dirt, or product buildup. Skip conditioner, as it can make the hair too slippery and affect how well the keratin bonds hold. Blow dry the hair thoroughly and make sure it’s smooth and easy to section.Why it matters:
Clean hair helps the keratin bond grip properly. Any residue can lead to slipping or weak attachment.
Step 2: Section the Hair
Create clean, horizontal sections, beginning at the nape of the neck and working your way up. Clip away the top layers so you can work neatly underneath. Keep your sections thin and even—this makes the installation more precise and the final result more natural.Tip:
The finer the sections, the better the blend.
Step 3: Choose the Right Amount of Hair
Take a small strand of natural hair and match it to the thickness of the K tip extensions. Getting this balance right is essential:Too much hair → the bond won’t hold properly
Too little hair → it may feel tight or uncomfortable
A good rule is to keep a 1:1 ratio between the natural hair and the extension.
Step 4: Position the Extension
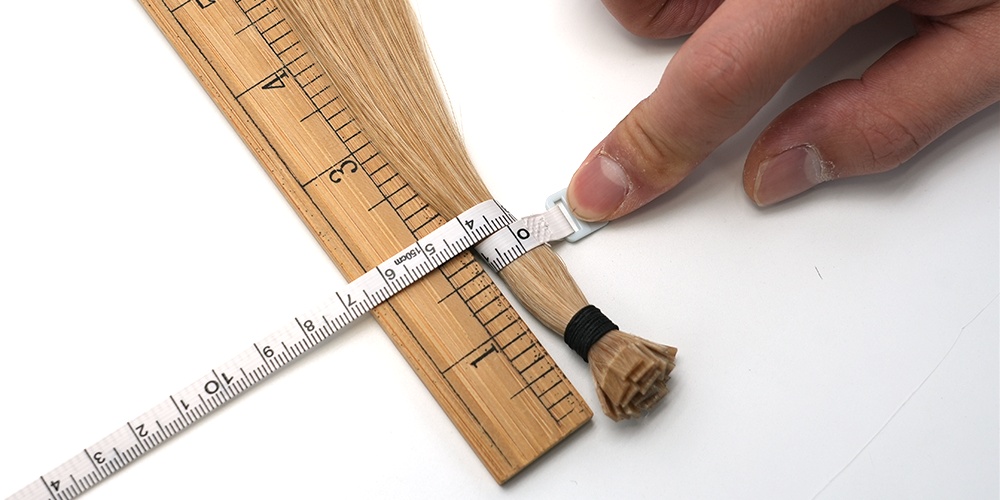
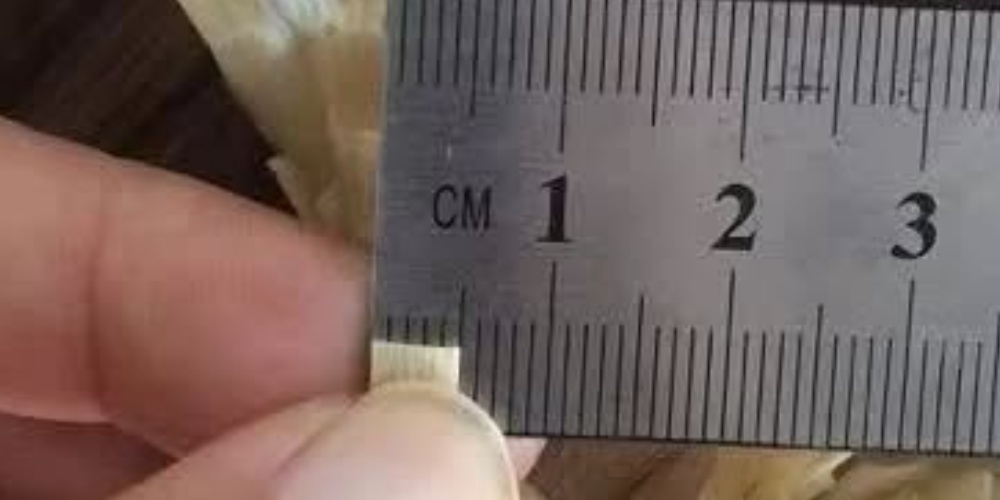
Place the K tip next to or just underneath the natural strand, about 1 cm away from the scalp.Avoid placing it too close to the roots. Leaving a small gap allows the hair to move naturally and prevents unnecessary tension on the scalp.
Step 5: Melt and Shape the Bond
Use a fusion heat tool to soften the keratin tip for around 2–3 seconds. Once it melts, wrap it around the natural hair and gently roll it between your fingers to form a small, secure bond.Keep in mind:
Don’t overheat the keratin
Keep each bond small and tidy
Work quickly before it cools and hardens
A neat, compact bond is what makes the extensions comfortable and nearly invisible.
Step 6: Continue Row by Row
Work your way across each section, then move upward layer by layer. Ensure you evenly space and align the bonds. Consistency is key, this is what gives the hair a full, balanced look without appearing bulky or uneven.Step 7: Blend and Finish
After all the extensions are in place, trim and shape the hair to blend everything together.Style as desired, whether straight, curled, or layered, to create a seamless, natural finish.
Related Article:<Supply Your Salon with Long Lasting Natural K Tip Extensions>
How Long Do K Tip Extensions Last?
With proper installation and care, K tip extensions typically last between 3 to 6 months. Their longevity depends on:- Hair growth
- Daily maintenance
- Product usage
- Installation quality

Aftercare Tips
To keep K tip extensions looking their best:
- Use sulfate-free shampoo
- Avoid applying oils directly to the bonds
- Brush gently with a loop brush
- Tie hair in a loose braid before sleeping
- Avoid excessive heat near the bonds
Common Mistakes to Avoid
Even high-quality hair can fail if installed incorrectly. Here are some common issues:1. Bonds too large
They become visible and uncomfortable.2. Sections too thick
Leads to uneven weight distribution and poor blending.3. Placing bonds too close to the scalp
Causes tension and discomfort.4. Overheating the keratin
Makes bonds brittle and prone to breakage.5. Uneven spacing
Creates a "stringy" or unnatural appearance.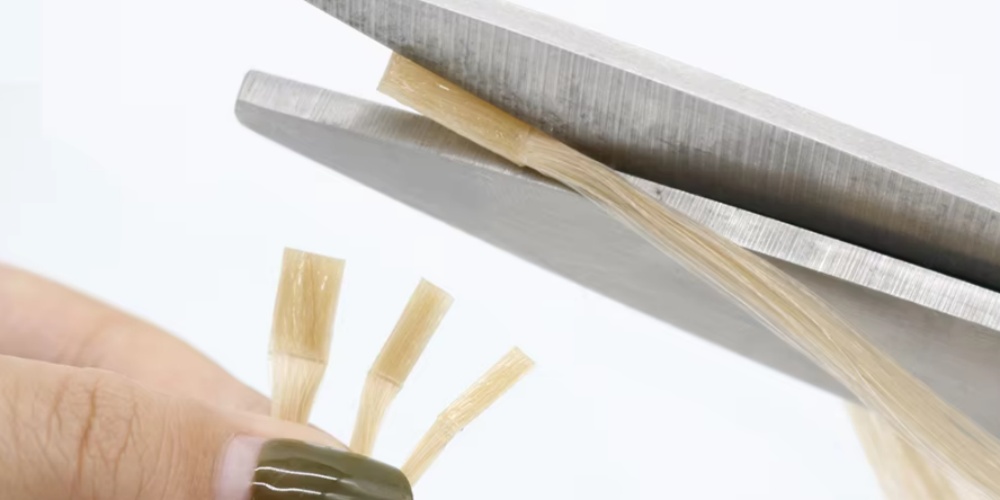
Can K Tip Extensions Be Reused?
In most cases, K tip extensions are not reusable in the same way as tape-ins or clip-ins.Once the keratin bond is broken during removal, it usually cannot be reapplied without re-tipping the hair. Some salons offer re-bonding services, but this depends on the condition of the hair and the quality of the original extensions.
When Should You Remove The Keratin Tip Hair?
You should consider removing or adjusting your K tip extensions if:- The bonds have grown too far from the scalp
- You notice tangling near the roots
- Some extensions begin to slip
- They feel uncomfortable or uneven
Final Thoughts
If you're a salon or stylist, mastering this method can elevate your services. And if you're sourcing products, choosing extensions with consistent, clean keratin tips will make installation faster, easier, and more reliable.
Ready to level up your salon's extension game? Explore our range of K tip hair extensions, from classic U tip hair extension to the latest Flat tip hair technology, and experience the Shiny Hair difference. For wholesale inquiries and factory-direct pricing, contact Shiny Hair team today via WhatsApp or email!

Lina
Shiny Hair Senior Hair Product Research Editor
hair extension specialist & content editor at Shiny Hair, has over 8 years of experience in hair product research and salon support.
Article Classification
Recent Articles
- What Is the Best Clip-In Hair Extension Brand for Beginners Looking for Durability and Comfort?
- How to Apply I-Tip Hair Extension? The Natural, Secure Choice!
- Understand the Pros and Cons of Weft Hair Extensions and Find a High-Quality Supplier!
- How to Choose a Hair Extension Supplier? A Guide for Hair Quality, Supply, and After-Sales Details
- How to Choose Tape-in Hair Extensions: Understand Market Trends and Find the Right Supplier